An 8 Step Guide to planting bare root roses (including learning from mistakes we made as novice rose farmers!)
Rose planting season is nearly upon us, we have put together the ultimate 8 step guide to planting your bare root roses, including mistakes to avoid where we went wrong when planting as novice rose farmers.
The cool weather is starting to arrive, the welcome cool breezes are a welcome change after such a dry and hot Summer. It’s also an exciting time of year as it means its nearly time to plant your bare root roses.
Last year, we at Lola Rose Farm, took the plunge and decided to plant 100 bare root roses in the vacant paddock next to our house. We live on a farm, Matt is a farmer of cereal crops and livestock, and I (Ali ) have always had a romantic view and love for roses, but aside from a few standard iceberg roses in our garden, we had not much knowledge in the world of rose farming until June last year when we planted our first 100 rows of cutting roses.
Alison & Matt the founders of Lola Rose Farm
So we are here to tell you that if you have a dream, even if you are a complete beginner, life is all about lessons and you will always succeed with hard work - and a few good tips!!!
Alison and Matt’s four boys Nate, Tristan, Hunter and Oliver who love getting dirty and helping in the rose farm.
Here is our step by step guide to planting bare root roses - including what mistakes to avoid that we made!!
STEP 1
You want to prep your soil well before you plant your roses. We used a mix of top soil, dried manure to mix in with our quite heavy clay soil, and build up your rose beds so that the water can drain away. Roses love water, but not being waterlogged.
Hunter & Oliver helping their Pa Geoff get loads of top soil to put in the rose beds.
Pre prepared soil is a must - this is top soil mixed with aged manure
STEP 2
Dig a 30cm by 30 cm hole into your prepped garden beds
Meme - Jill getting the holes ready to plant roses
Matt planting some roses & our 30cm by 30cm holes
STEP 3
Add a handful sprinkle of Seamungus - jam packed full of goodness the roses will love this - its a soil and plant conditioner made from composting seaweed, fish, humic acid and manure.
STEP 4
Make a mound of soil in the bottom of the hole for the rose to sit on top with the roots running down the side of the mound
Pa and the boys in planting the bare root roses.
STEP 5
Trim the roots with a clean pair of secateurs ( we can’t stress how important cleaning your cutting gear between roses is - trust us we have made the mistake of not and its cost us a few rose bushes!!) just dip your gear into some metho between each rose bush
Trimming the roots of the roses before planting
Trimming the roots of the roses before planting
STEP 6
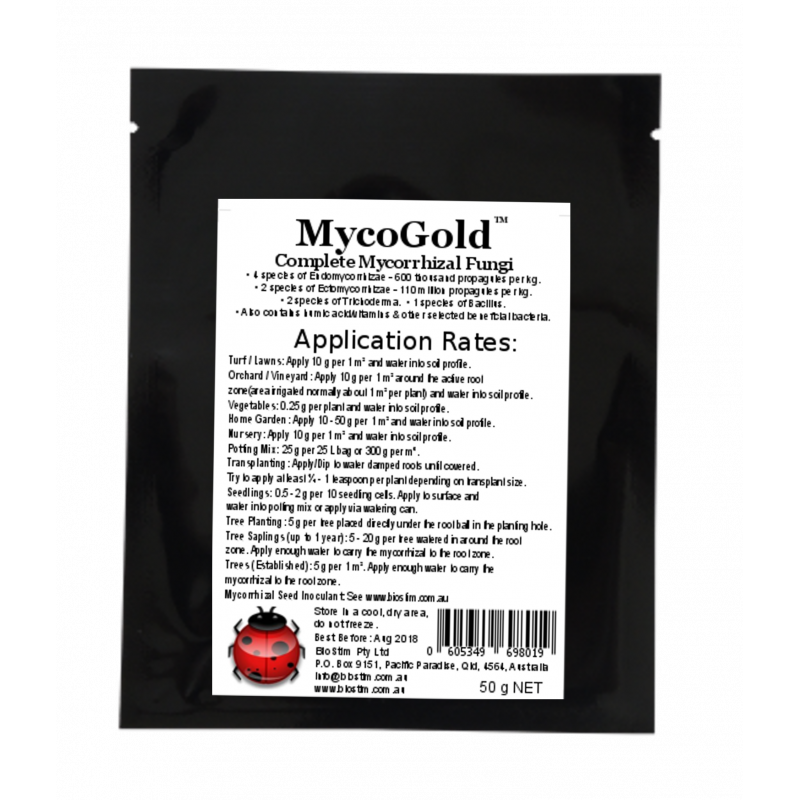
Sprinkle the roots with Mycorrihazal Fungi - this incredible stuff helps increase the roses compatibility to the soil, reduce disease, improve soil condition, boost productivity and helps with drought resistance. An all round winner.
Image Matt & Ali planting the roses
STEP 7
Place Rose on soil mound and push roots down around the mound. Place soil on top, ensuring no air pockets in between the roots. Make sure the graft of the bare root rose is sitting at least an inch from the top of the soil - we made the mistake of having the soil touching the graft point and this is definitely a mistake to avoid.
Matt & Geoff putting soil around the roses
Hunter in the dirt pile
STEP 8
Water in your roses well- they will need a lot of watering and love while they are new to get established.
Hunter and Oliver playing in the freezing water!
All images by Jasmine from Elk Avenue Photography


